This is the 3rd post of a series about building WordPress themes with AngularJS and WP REST API (WP API).
In previous posts, you’ve learned some new HTML tags and attributes like <ng-view> and ng-repeat, which we call “built-in directives” in AngularJS. In fact, anything you’ll learn starts with "ng" means it comes from AngularJs, and in general we shouldn’t prefix our custom directives (or functions) with the same “ng” pattern.
Long story short, “directives” are a way AngularJS manipulates parts of the DOM. They look like HTML tags or attributes and are used like HTML tags or attributes. The hard part is to define their “behaviors” so we can get the expected results.
As a developer comes from WordPress world, the first impression to me on AngularJS “directives”, is that they work like “template tags” in themes.
By its definition, Template tags are used within your blog’s Templates to display information dynamically or otherwise customize your blog, providing the tools to make it as individual and interesting as you are.
That said, we use template tag to save time. For example, we call get_header(), get_footer(), get_sidebar() every time we need the same pieces on a single page.
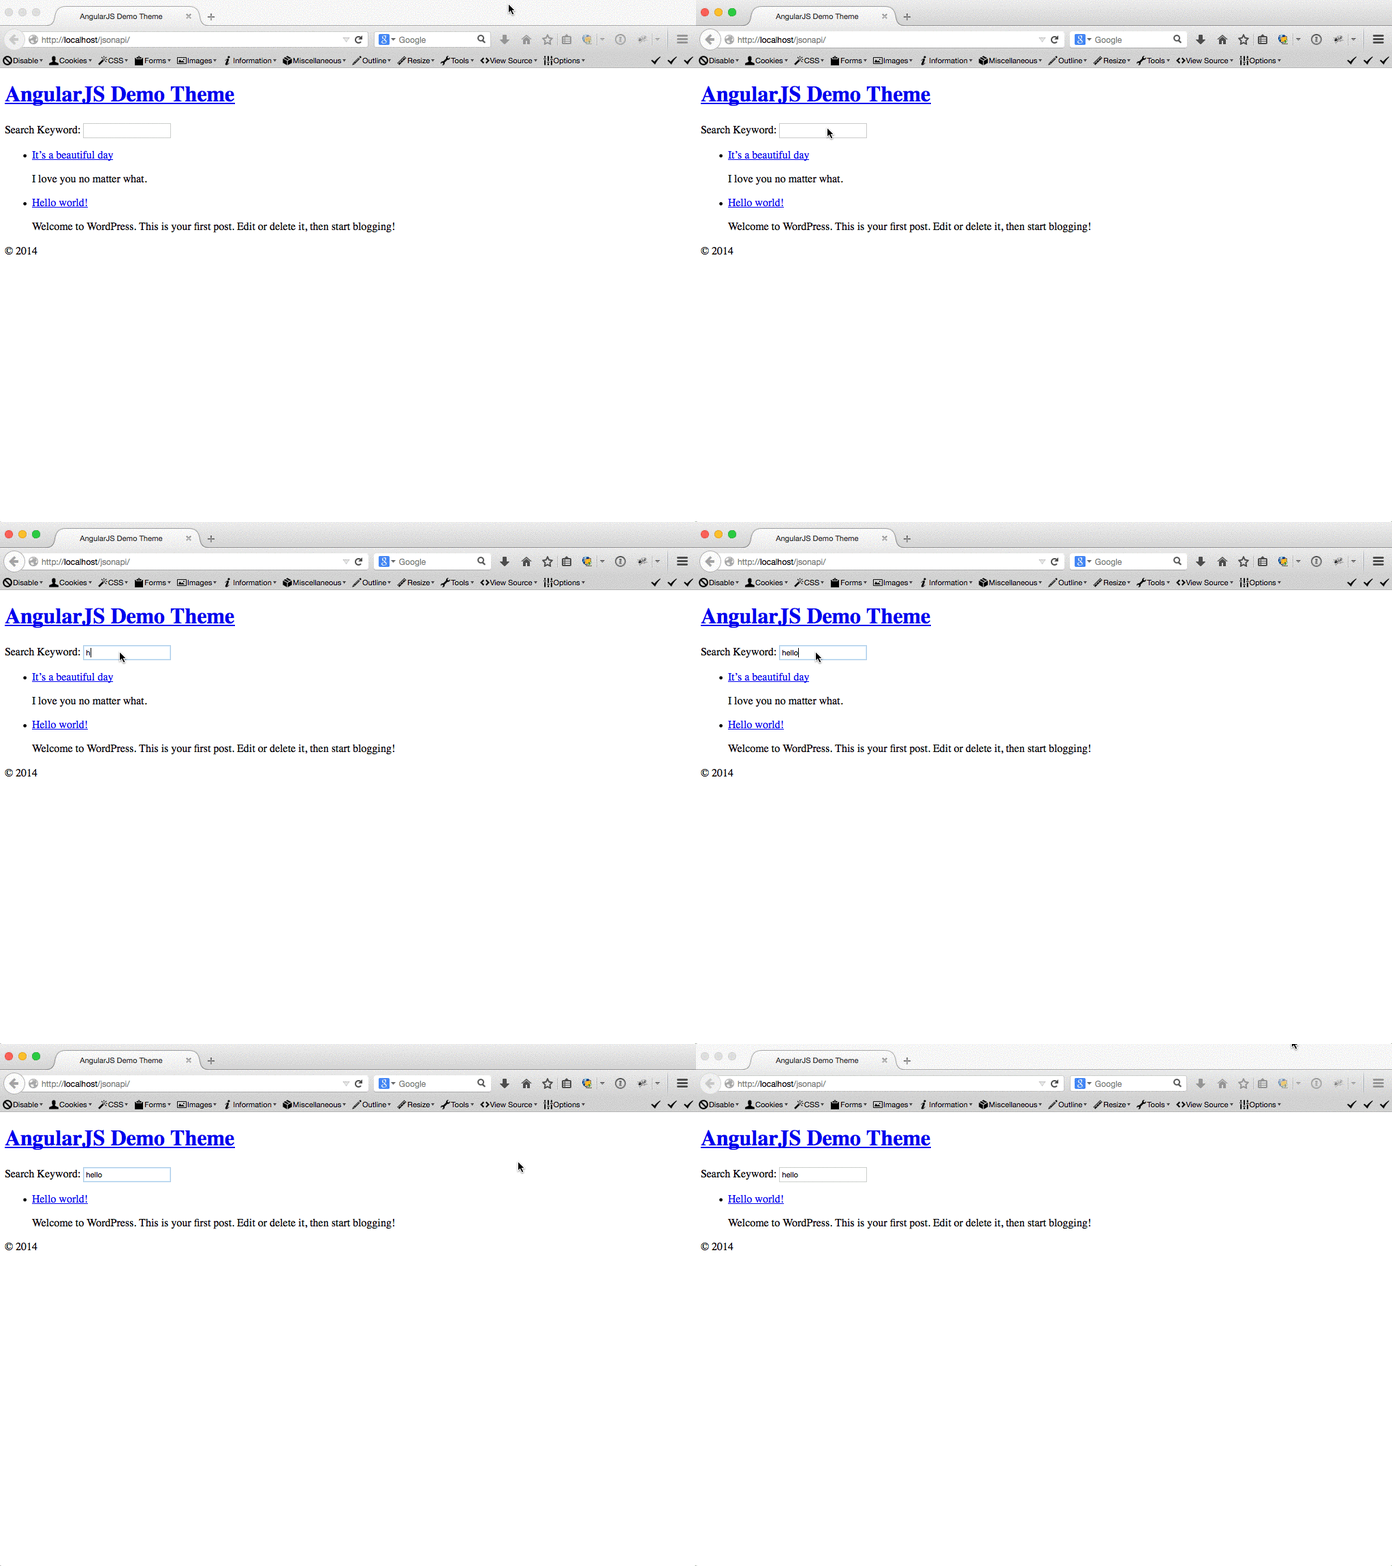
In this tutorial, I’ll show you how to create a custom directive with AngularJS called <search-form>, to make it work like the WordPress template tag get_search_form(). And with WP API, we can get the search results in our demo single page application. Check the screencast below:

0. Getting Started
You need to download the project files from the GitHub repo if you want to start right away. The project file is a zipped WordPress theme, so you need to activate it in your WordPress install to see the demo work.
1. Create the <search-form> custom directive
For the best practice you should prefix your own custom directive, make it like “<my-search-form>”. I skip prefix to make the code cleaner and more readable.
We can register our custom directive with the following code:
First thing you’ll notice is, the directive name "searchForm" is camelcased. When AngularJS meets <search-form> in the DOM, it does the magic by transforming <search-form> to searchForm, and find the matching custom directive function to execute, such process is called “normalization”. (You can search for “normalization” in this documentation.)
1.1. Tag or attribute?
By default, the custom directive can be used as HTML tag element or attribute. If you’d also like to use it as a class name, you can change the restrict property to "EAC", by adding a “C” to “EA” (which E is for element, and A is for attribute).
1.2. A much simpler search form
In general, the HTML of a default WordPress search form (generating by get_search_form()) should look like this:
But in the template property of the searchForm directive, I remove the form and submit button, leave only the text input element, to make the HTML much cleaner.
1.3. Data binding with ng-model
The value of ng-model may look a bit odd to some of you. Please note I use filter.s on purpose, it means “the s property of the filter object”. We’ll add the filter object to the $scope in the controller later, so AngularJS can monitor the change of its value for us.
2. Add the controller property to the custom directive
2.1. Add a filter property to the $scope
In the controller, before we create the search function, I add a new property called filter to the $scope, and the filter property is an object with a s property, which is set to an empty string by default.
2.2. Use $http service to get the search results
In the search function, we still use the $http service to communicate with the JSON REST API (WP API, be sure you’ve install and activate the plugin). We need to pass an extra parameter to the query URL, which is filter. The filter parameter controls the parameters used to query for posts, just like the query variables we use in WP_Query. After we add the query string, the query URL become 'wp-json/posts/?filter[s]=' + $scope.filter.s.
3. Search when the user changes the input
3.1. The built-in ng-change directive
So how do we trigger the search function? You must be wondering: Can I use something like onchange in JavaScript? This answer is YES! Let’s add a "ng-change" directive (attribute) to the input element, and set its value to search(). Now whenever the value in the search input changes, AngularJS will call the WP API to get the search results.
We can reduce the API calls by checking the length of "filter.s" string, i.e. the length of the characters should be equal or more than 5 to trigger the search.
3.2. Insert the tag to your template
The last step we should do, is to insert the custom directive to the template. I just place the <search-form></search-form> on top of the main.html. You can try different flavors like <div search-form></div> or <div data-search-form></div>.
4. HTML search form and ng-submit
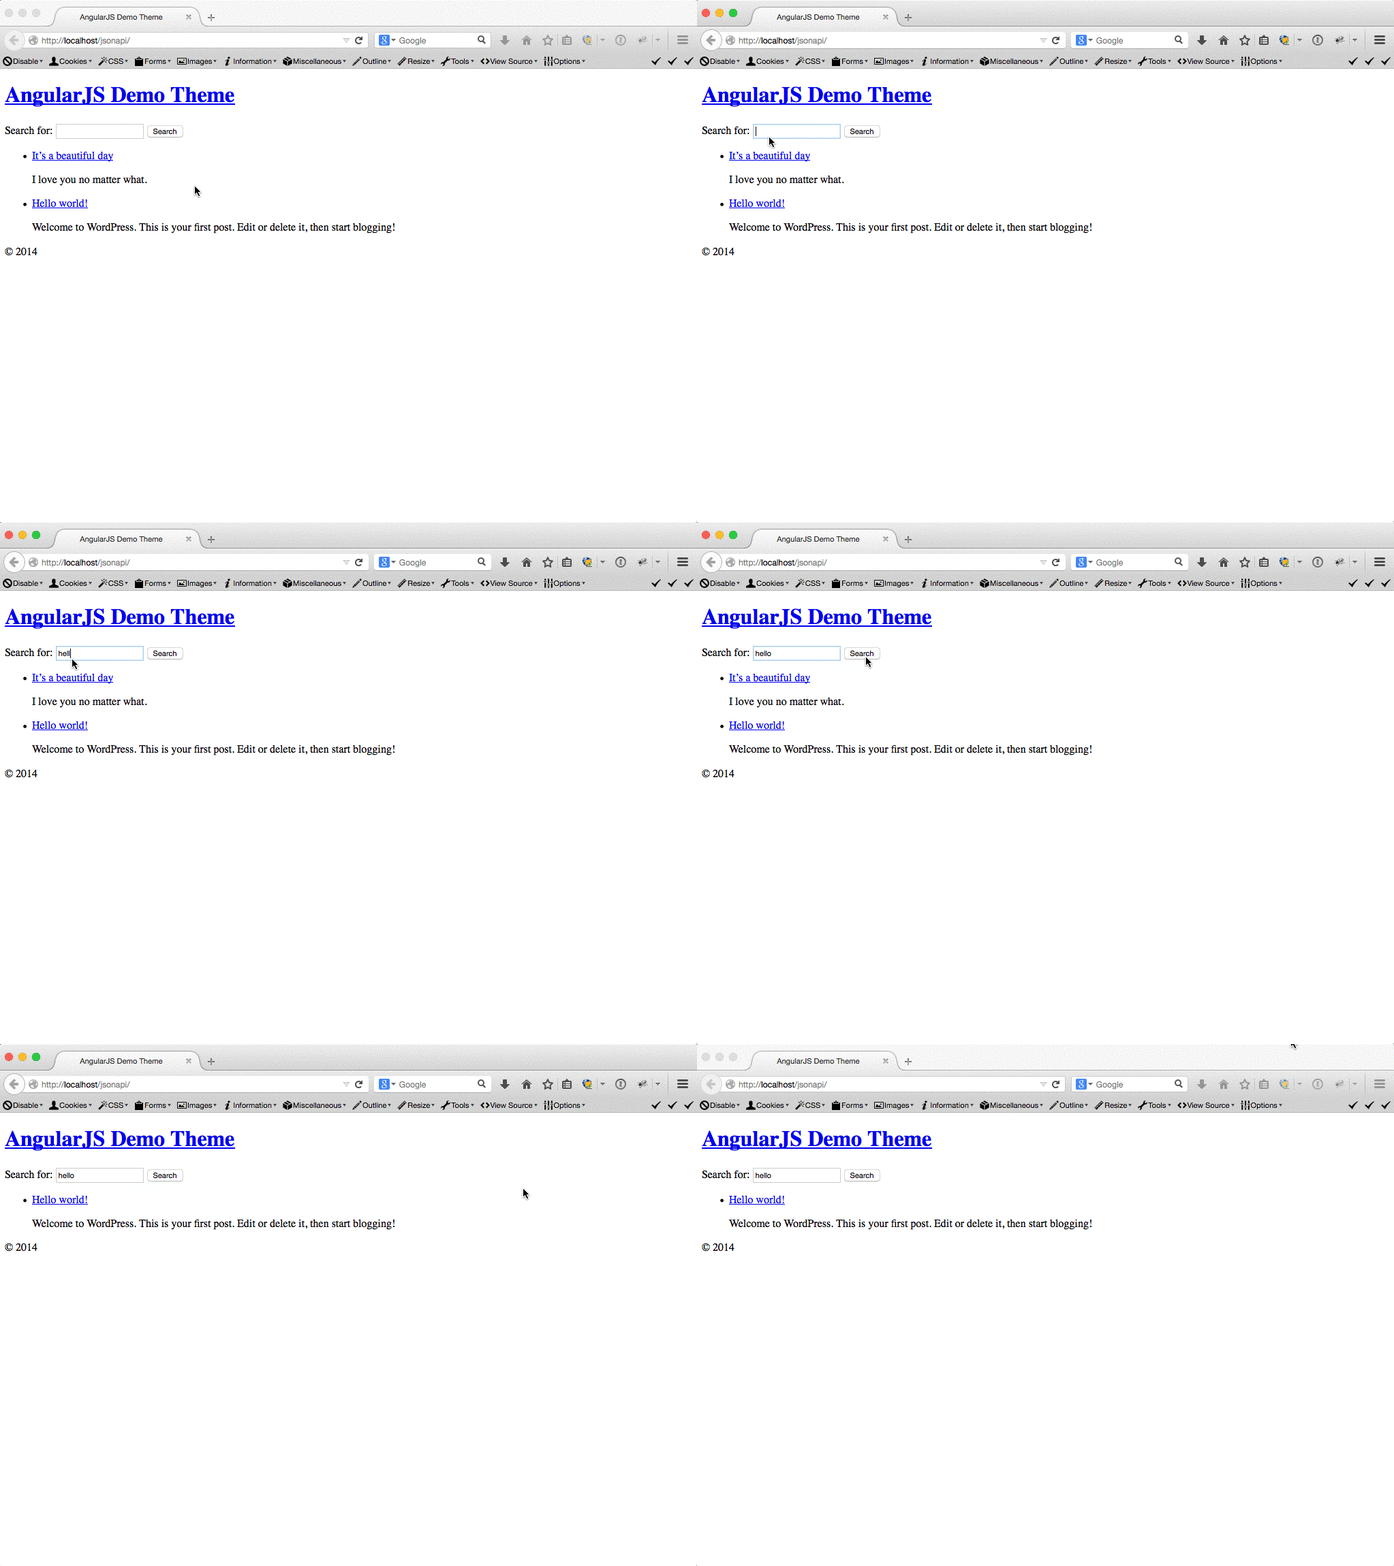
The search function should work now. I’d like to show you another way to create a “real” search form, other than just one simple text input in previous example. Personally I prefer the 1 text input method, but it’s good to learn more about directives in AngularJS by the following example. Let’s create a new file called search-form.html to the partials folder:In the custom directive function, remove the template property, and add templateUrl to set the path of the search form.
Now you’ll need to submit the form by clicking the submit button, or pressing the enter button to get the search results.

You can get the finished files from the GitHub repo for this project (ng-change version / ng-submit version). This article only provides you with very basic introduction about custom directives in AngularJS, so I have some further reading for you:
- Build custom directives with AngularJS by ng-newsletter
- Creating Custom AngularJS Directives Part I – The Fundamentals by Dan Wahlin
- Angular.js directives – Difference between controller and link by Jason More
If you have any question when following the steps in this tutorial, please feel free to contact me.
Happy Holidays!

Leave a Reply