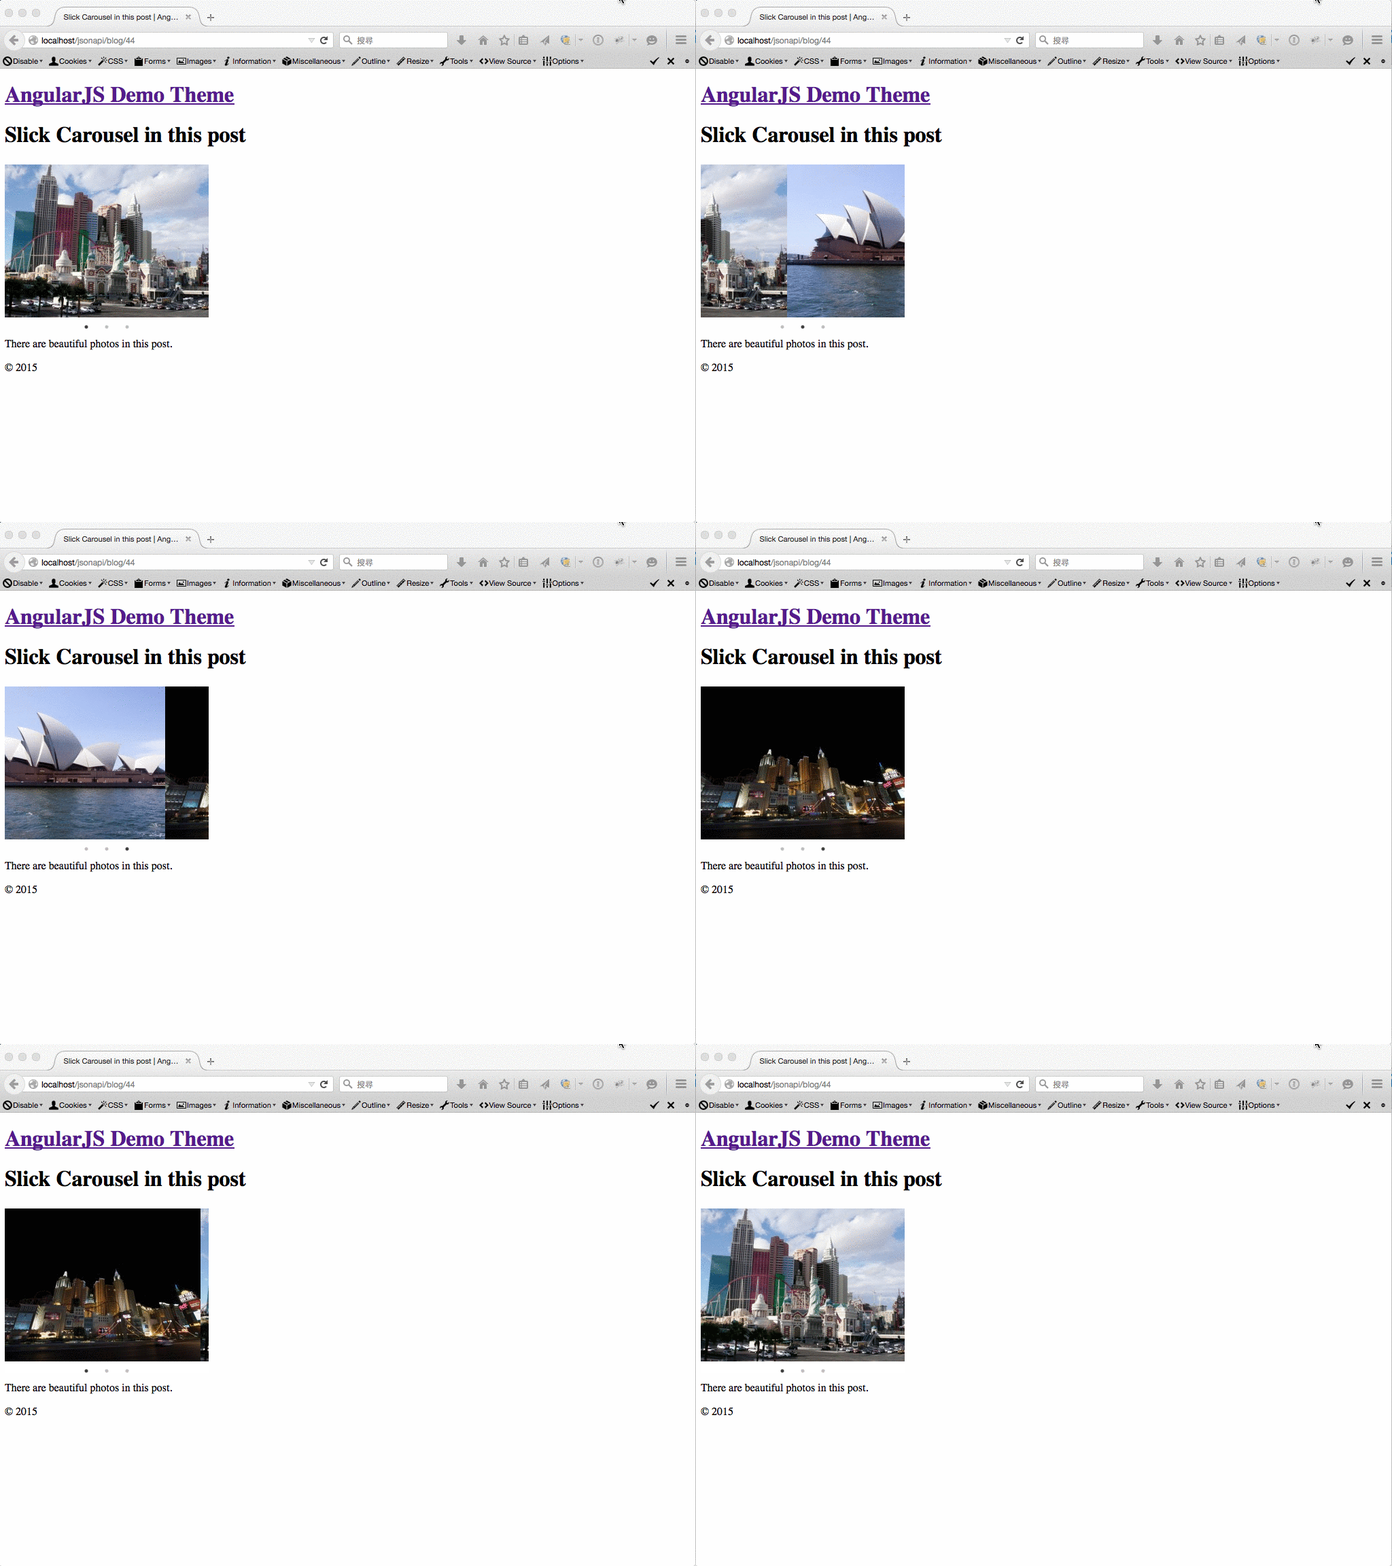
Last time we just learned about Getting Attached Media For A Certain Post With REST API, now we should be ready for implementing this technique and fetching all attached images into a slider.
After this quick tutorial, you’ll have a Slick carousel showed in each post, when there are more than one image attached to the post. It will look like the following GIF animation:

Since this post is in my Building themes with AngularJS and JSON REST API series, please be sure you’ve downloaded the latest project files before we get started.
1. Add Angular Slick to our theme
Angular Slick is an Angular directive for the jQuery Slick carousel plugin. I suggest you install it with bower because all dependencies (jQuery, Slick carousel) will be downloaded with it automatically. You can use the command bower install angular-slick to do so, or you can download all of them separately of course.
After that, you should get three more directories in bower_components, then let’s enqueue them into our WordPress theme.
2. Enqueue all files needed
When you need to enqueue JavaScript or CSS files into your WordPress theme, you can just go to functions.php and update the function you hook into the wp_enqueue_scripts action.
In our project, you need to add the following code. You may find that I’d like to register script files first with wp_register_script, and add them to the dependencies of my-scripts.
We’ll also add an extra CSS file comes with Slick carousel in line 28.
I know there’s a copy of jQuery comes with WordPress, but I had some hiccup when tried to integrate it with Slick carousel. So I enqueued the jQuery library came with Angular Slick when I installed it with bower.
Please be sure you’ve got the filter function hooked into query_vars in line 39, so we can make the media query work in WP REST API.
3. Add Angular Slick to our Angular module. Get all attached media in the Content controller
In line 1, we add the slick directive as a dependency to our Angular module, which is called app.
And in line 12-16, we get all attached media files with the post ID, and we only add the new media property to the $scope object when there are more than one attached files.
4. Display the Slick carousel in post content page
The last step is to update the content.html, from line 2 to 6, the code is added to display our Slick carousel.
- Line 2, the
slickdirective can be passed a lot of options to change the carousel settings. But there are two important attributes when we load the images withng-repeat:init-onload="true"anddata="media". Information about these two attributes can be found from this issue ticket. - Please note the value of the
datakey should be the property you’ve attached to the$scopeobject, in our case, it is themediawe fetch from WP REST API. - In line 3, I use
image.is_imagewithng-ifto show thedivonly when the media is an image.
With this quick tutorial, we integrated a third party directive into our Angular WordPress theme, based on the tip we’ve learned from the previous post.
If you’ve followed my series about AngularJS and WordPress for a while, I hope you’ve got the idea about the new approach when getting AngularJS involved with the WordPress theme development:
- Add the required AngularJS modules as dependencies in our app (theme).
- Enqueue the dependencies.
- Add or modify the controllers in our app, in most cases, we used
$httpservice to query objects (posts, media) from WP REST API. - Lastly we often need to update our theme partials (views) to display the content we’ve just manipulated.
You can download the complete project files from the GitHub repo of the theme. I’m looking forward to hearing from you. Any suggestion topics or thoughts to share are very welcome.

Leave a Reply