This post is based on a tutorial video from WordPress.tv – Eric Wolfe: Building a WordPress Theme Using AngularJS.
This is the first post of a series about building WordPress themes with AngularJS and WP REST API (WP API).

I tried AngularJs a while ago on Code School (free online course) and found it very impressive. Since my work is mostly based on WordPress in these days, learning how to make AngularJS and JSON API play nicely together, become my new hobby in the weekend.
When starting learn something new, I always start from Google. By just googling some keywords or phrases, I’ll get the most comprehensive resources on the topic I’m ready to dive in. To dig out really high quality stuff, I’ll use long tail keywords to narrow down the results. Luckily in this case, when googling “WordPress JSON API+AngularJS” there are no overwhelming results for me to sort out. I could learn on my own pace and share some tricks here to help newcomers.
Before we get started, if you’d like to know why AngularJS are popular these days, and why WordPress is good to serve as backend for websites, you could check this slide shared by Eric W. Greene, for the time of this writing, it takes the second spot when I google for “WordPress JSON API+AngularJS”.
Even if you have no experience in AngularJS, as long as you’re comfortable with coding, now you can open your favorite code editor and work with me.
0. Getting Started
If you have 30 minutes free, I’ll suggest you to watch the original video from WordPress.tv. Eric did good job in this session, and I add some new flavors that:
- Enqueue the scripts in theme in the WordPress way.
- Use the JSON REST API (official WP API), not JSON API (an old friend came before WP API).
- Keep the story short and focus on AngularJS and JSON API.
1. Creating a new theme
Creating a new theme for this demo. In the beginning you’ll just need 2 files in your theme: index.php and style.css. Be sure you’ve put the right comments in the style.css, or the theme will not work.
And paste some basic HTML, like this one, in the index.php.
Go to the WP admin and activate this theme.
2. Download AngularJS
You’ll have to download a copy of AngularJS to your theme folder. In the video Eric used bower to install AngularJS, you can also grab it from the official website. With bower, cd to your theme folder then type bower install angular in the Terminal, or if you prefer npm, you can do: npm install angular.
This introduction will focus on the magic of easily developing a Single Page Application with AngularJS, so we also need to download AngularJS Route by bower install angular-route or npm install angular-route.
If you use bower, the AngularJS files will be downloaded to the bower_components folder automatically.
3. Enqueue the scripts
Creating the functions.php in your theme, we’ll add an action function to hook.
And please remember to add wp_head(); to the head tag, in this way the AngularJS scripts will be inserted in the head tag.
4. Hello, AngularJS!
Let’s do some test to make sure the AngularJS is working and see some magic.
- Line 2: the
ng-appattribute added to html tag, is the way to make AngularJS work on this page. - Line 18: add a simple text input with the
ng-model="name"attribute. - Line 20: and now we can access the value of the input in real-time by using
{{name}}. The double curly brace notation{{ }}is a built-in Angular markup.
The homepage is done if you can get the value from the text input, see the image below. 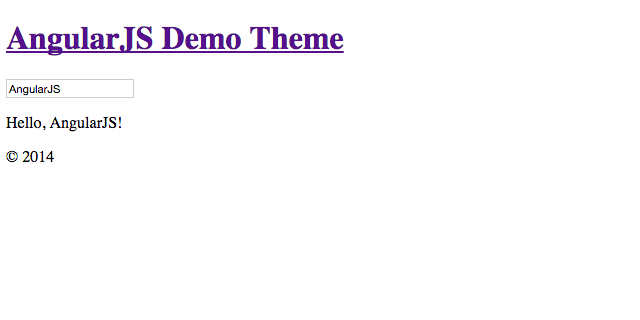
5. And Hello, AngularJS Route!
Now let’s make AngularJS Route work. It would be kind of complicated so please do it with me step by step. First, we need to modify the index.php by adding some tags:
- Line 2: add the attribute value, now it’s like
ng-app="app", you can change “app” to any string, as long as you remember to use the right app name later in your javascript. - Line 4: I added this because in my case, there’s a “nobase” error in console. According to the AngularJS documentation, the
basetag is to the rescue. Please note the “/jsonapi/” is the sub-context in my case (my test url is like “http://localhost/jsonapi/”), you should replace it accordingly. If you set the wrong base href, you’ll get an error like this or this. (2015/04/19 updated: Since release 0.8.1, I changed the base href to a dynamic string that will be your root directory. You should be free from setting the href manually.) - Line 17: add the
ng-viewattribute so later the content will display in this div.
Second, create a new folder in the theme folder called “partials“, and add a new file called “main.html” in it. Write something like “This is the main file” in the html file. The folder, file name, file content can be anything you want.
Third, update the functions.php, we enqueue our scripts.js, and use wp_localized_script to make the URL of the partials folder available to scripts.js.
Fourth, it’s time to write some JavaScript. If you’ve changed the app or file name, please change them in the scripts.js accordingly.
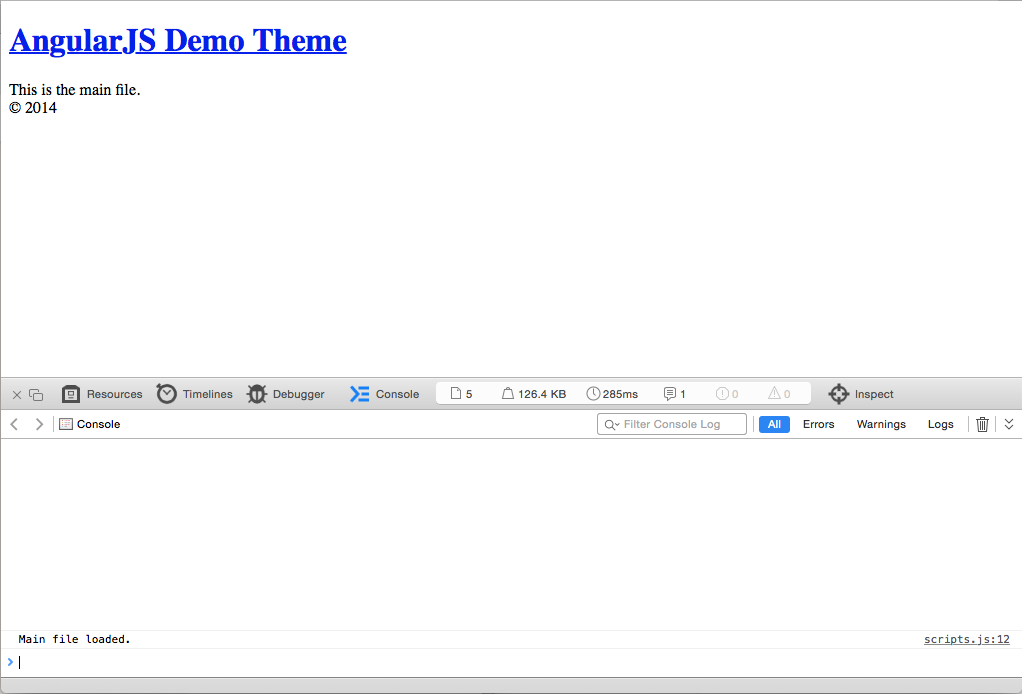
The screen will look like this if you get all four steps right:
6. JSON REST API plugin
All the 5 steps above let us realize the magic power in AngularJS, now we’ll get JSON REST API to work. Please install JSON REST API (WP API) and activate it. Also you need to enable the permalink to make it work.
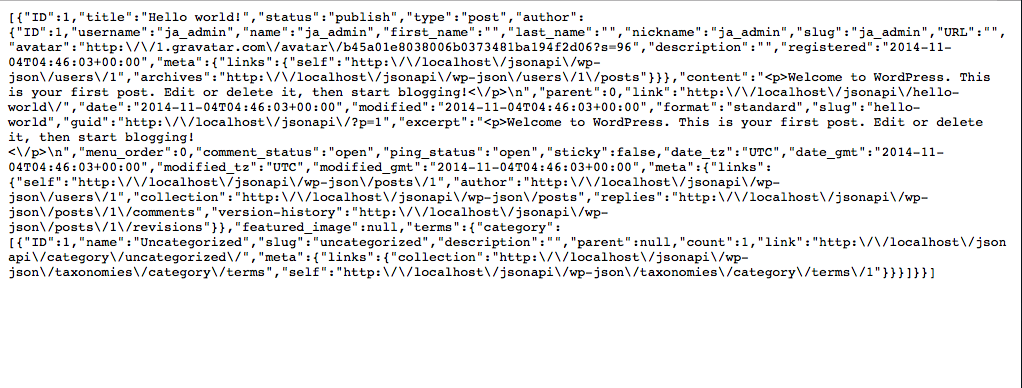
With JSON REST API, you can get the latest WordPress posts in JSON format with URL like this:
[SITE_URL]wp-json/postsAnd the screen will look like this:
7. Display WordPress posts with AngularJS and JSON API
Now we’d like to use AngularJS to get the latest posts, and display them on the homepage. In our scripts.js, we tell AngularJS to go get the “wp-json/posts/”, and pass the result to an object called posts when success.
And we need to change the markup in main.html to display the loop. See the elegant ng-repeat below, I really like this one. (If you prefer to user slug, please check out the following post: Using Slug To Get Single Post In AngularJS WordPress Theme)
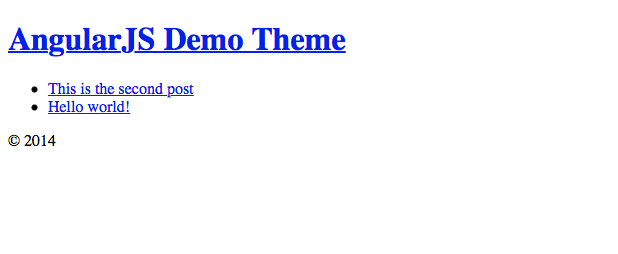
Note you can use the keys in the JSON to display values like {{post.ID}}. Now we get the loop on our homepage.
8. Display a single WordPress post with AngularJS and JSON API
Add another file to your partials folders called content.html:
Update the scripts.js to:
- Line 10: be careful there’s a “:” before ID. In such syntax, it means a route parameter, not a string called “ID”.
- Line 25: We tell AngularJS to get “wp-json/posts/[ID Param]”, and JSON API would give us the single post.
So now you can get the single post view without refresh the whole page. That’s what makes a Single Page Application.
Thank you for spending time with me and this tutorial. I hope you enjoy it and can’t wait to learn more about AngularJS and JSON API like me. There’s another tutorial for beginners by Alisa Ryan Herr is worth a read. And Josh Pollock is going to write a 3-part series about WordPress and Single Page Application on Torque Mag, though he’ll use node.js on the front-end.
You can download the final theme from this GitHub Repo. I’d love to hear from you and discuss any coding issues if you bump into with the steps above. Talk to you soon.
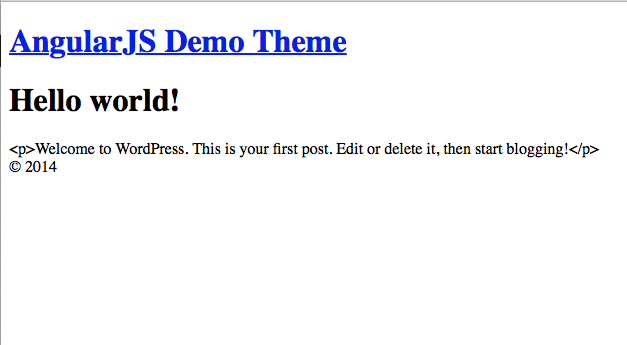
P.S. If you feel confused about the last screenshot, you can find the solution in the next post: AngularJS WordPress Theme: Display Post Content with ngBindHtml.

Leave a Reply